
Welcome to The Cherry On Top.
On Wednesdays we show off fun, traditional scrap projects. For the most part, we keep it easy and fast. Not everyone dedicates the time to lengthy projects and they are often hard to even get started if you're not sure how long it will take.
Today's project can be assembled in well under an hour. The project could take considerable time depending on how you want to embellish it. I kept it fairly simple so as to save time.
Scroll through this thorough tutorial to see how you can design a tower like this, but with your creative stamp. We will provide you with a free template and in detail, step by step directions with tips and techniques to make scrapping easier and more beautiful.

I wanted a collection that was versatile, bright and good for any occasion. I chose Graphic 45's Bohemian Bazzar. Are these colours not fabulous?! I got this idea from Pinterest. It could make a fun party favour or gift or you could just put it on a shelf and admire it.
Does this template look familiar? You may already have it. It's our template from the Advent calendar. If you need it, click here.
The original version of the template should fit just right in either U.S. or A4 paper. That's the size I used for the largest box. For the other smaller boxes, I just did a print preview, chose scale and brought each one down a bit. Somewhere around 15% smaller for each. It's totally up to you what size you use.

Download your template, print the sizes you want and then cut them out.

Trace them onto your desired paper.

You may have to mark where to fold, but it is pretty obvious. Easy for me to say because I've used this template more than 30 times. Hehehe...

When you finished cutting out your boxes, check for pencil marks and erase or ink around the edges if you prefer.

Sometimes, just looking at the template can help you with the folds.

Choose your adhesive. I often like to use a fast drying glue stick for projects like this. This template can be very forgiving if you use a flexible adhesive and not tape.

You may want to pre-fold your paper and get a feel for how the box is constructed before you start gluing. If you are a perfectionist, you could use a ruler for perfect folds.

All three boxes are finished.

I love how the inside is pretty, too.

Gather up your coordinating goodies! That's my favourite part. There are so many colours in this collection, it was no problem finding elements to decorate.

You may have noticed the little flag I used on the top box. I took some craft wire, adhered a tiny glue dot to the end and wrapped this string around the entire thing, using another glue dot to finish it off.

I thought the coil was a quirky touch.

Put a tiny hole in the centre of your lid, leaving a small piece of the craft wire for the inside to bend over and adhere with washi tape. Make sure you are using rigid paper to do the flag like this because it is a touch weighty.

You can use coordinating washi to adhere your tag/flag to the pole. This didn't work wonderfully because my washi came from a discount store. Tip: I took a large glue dot and rolled it up and it stuck wonderfully!

Another fun way to embellish is by using the detail pieces or strips on a paper from the collection. I chose this one and...


...wrapped it around a thin paint brush to get a coiled look.

There ya go! How easy was that? Download your template, cut, trace, cut, fold, glue and stack.
Take a peep at some of the details. Starting at the tippy top, I used three tiny glass beads. On the tag I added a few glitter dots for the centre of each flower. I cut a couple of fun border looking strips from a paper from the collection and adhered them to the box. On one of the borders, I added more of the pink, glitter dots, all of the way around the box. For the bottom box, I adhered this fun, bold ribbon, layered up two flowers, added the pearl centre and used the coiled paper for more bada bing.

You can go totally crazy with this idea. There are no limits.
You can stuff the boxes with money, sweet treats, small gifties like jewellery, mini nail polish, lip balm...
If you like projects like this you might also be interested in these:
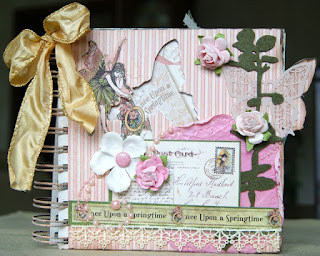
This is matchbook mini album. You can easily scrap this one up in a few hours or less.
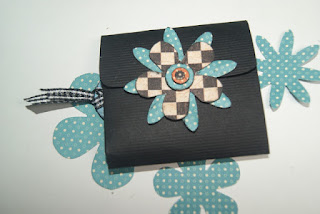
If albums are your thing, check out our stunning mini.
This one is a favourite of mine. It's an accordion album in a large match box.

This is a tiny top hat made from a cereal box. Get a free template and check out the tutorial.

Thanks so much for hanging out with The Cherry!
No comments:
Post a Comment